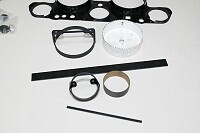
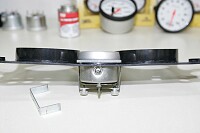
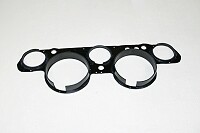
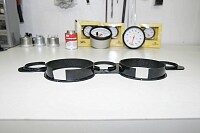
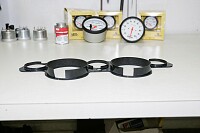
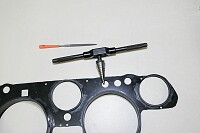
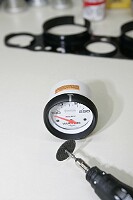
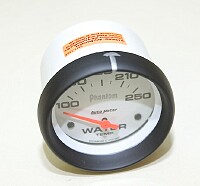
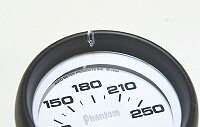
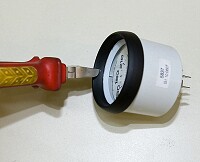
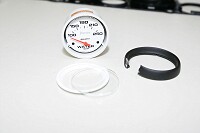
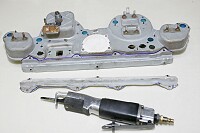
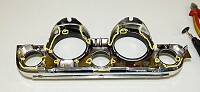
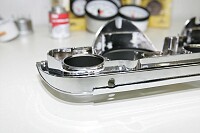
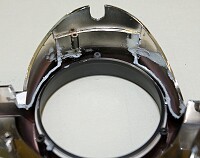
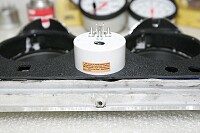
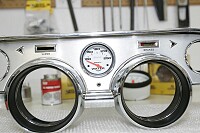
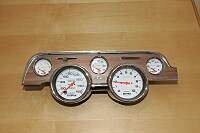
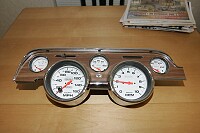
Buiding a Better Bezel

Click on any photo to see a larger version
Heres what you need:  a heat gun, a Dremel with a drum sander and a cutoff wheel, two 1"x12" ABS strips, three 1/4" x 7" ABS strips, cement for ABS plastic,  the gauge support panel and a full set of Autometer gauges.  Oh yeah, also need the bezel of your choice. Use the heat gun to soften the ABS strips and roll into rings the size of the outside diameter of the gauges.  They do not have to be perfect, but they need to be pretty close.  For the small gauges you can use the plastic bracket of the packaging ring that comes with the gauge.  For the large gauge I use a 4 5/8" hole saw. Place the ring around the gauge and hold it tight with a zip tie.  Put the gauge thru the support (smooth side, which goes to the inside) and tighten it down - -but not too tight.  Glue the ring to the face of the bezel with the ABS cement. Leave gaps as shown. Here is an old hunter's trick - - the support panel is too thick for the Autometer lights.  Take a stepped reamer or a unibit and gently taper the blinker & high beam holes.  Do not go all the way thru the support, only about half way.  This creates a step for the light socket to hold to. Optional step.  The gauges will be held in place tightly by the support and spacer rings, so the included brackets will not be needed on the back.  For a cleaner installation the studs can be removed from tha back of all gauges except the tach.  The studs on the three small gauges need to be cut in half or they will no push all the way thru. Once the stud is cut in half gently push it thru into the gauge and then bounce it out the light hole. This is where mistakes start to get expensive.  The front trim ring has to come off the gauges.  Use a cutting disc or a small hacksaw and cut most of the way thru the ring, from the front edge back.  Do not go too far or you risk getting into the glass lens. This cut is close enough. Use a flat screwdriver, a small chisel or tapered cutters to spread the trim ring and snap it in half. Once the trim ring is halved, spread it open and remove from the gauge.  Careful - this is the only thing holding the lens and lens ring in place.  You don't want to drop the lens.\n\nOptional step:  use a small amount of clear silicone to glue the lens and ring in place on the gauge.  It is not a necessity, but will make installation easier later on.  Reminder - make sure the gauge face and inside glass are very clean before you start gluing. Remember that gauge assembly you removed from the car?  Do you need any of it?   Not much.  Cut on the blue line, leave some extra around the four mounting holes (three on a '68, drill that fourth one later) and clean it up on the grinder and the anvil.  I use a air body say and it take about two minutes to make the cut, but a hacksaw or small cut off will do just as good. Now that you are past cutting up those expensive gauges, its time to destroy that expensive bezel!\n\nI personally recommend practicing on an old throw-away bezel first.  The very best tools here are the Dremel witht eh cut off and the sanding drum.  You won't really be cutting, the friction will melt away the plastic.  \n\nBe extra careful not to cut anything that can be seen from the front. After the bezel is trimmed, test fit the support panel and the metal attaching brace cut from the stock support panel.  You will notice that the plastic support extends past the bezel in several places.  This needs to be trimmed back to the bezel edge or it will not easily fit back into the car's dash.  This is easily done with the sanding drum on the rotory tool. The top of the plastic support needs to be trimmed back to the metal support. After trimming away the excess. Time to test fit the gauges.  Just slide it in from the front.  If you did it right it should be a snug fit.  Now place the bezel on top and it will hold the lenses in place. Finished '68 deluxe woodgrain bezel with Autolite Phantom gauges. Finished '68 deluxe woodgrain bezel with Autolite Phantom gauges. Bezel from the back with wiring harness.\n\nMore to come on the harness later.